
7 Steps to Brew Coffee at Home (2025 Guide)

Some of the links on this site are affiliate links, which means I may earn a small commission if you make a purchase—at no extra cost to you. I only recommend products I use and trust.
To brew coffee at home can, it seem confusing at first. There are so many ways to brew, and all the gear and measurements can feel like too much. But here’s the good news: it doesn’t have to be hard. If you’re tired of spending money at coffee shops or you’re sick of weak coffee from your old machine, this guide will help. I’ll show you how to make better coffee, save money, and actually enjoy what’s in your cup.
I spent 22 years in the military—and I drank a lot of bad coffee during that time. But once I started learning how to brew coffee at home, everything changed. I’ve brewed hundreds of cups, tried all kinds of gear, and figured out a simple way that works. Now I want to share it with you.
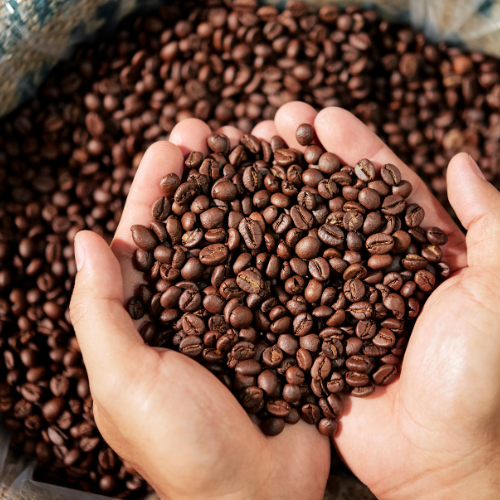
1. Start With Fresh Beans
Great coffee starts here. Use whole beans roasted within the last 2–4 weeks. Check for a roast date—not a “best by” date. Buying from local roasters or reputable online sources helps ensure freshness.
Consider experimenting with different origins and roasts. Ethiopian beans often offer floral and citrus notes, while Sumatran coffee tends to be bold and earthy. Rotate beans seasonally to discover what suits your taste best.
Fresh Bean Pros
Fresh Bean Cons
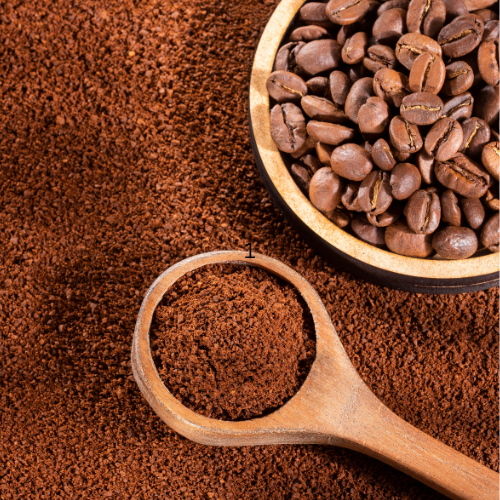
2. Use the Right Grind Size
Grind fresh, and match your grind size to your brew method. Coarse for French press, medium for drip, fine for espresso. Burr grinders beat blade grinders—every time.
Grind consistency is key. Uneven grinds result in both over- and under-extraction in a single brew. Investing in a burr grinder (manual or electric) ensures more control and better tasting coffee.
Grind Size Pros
Grind Size Cons
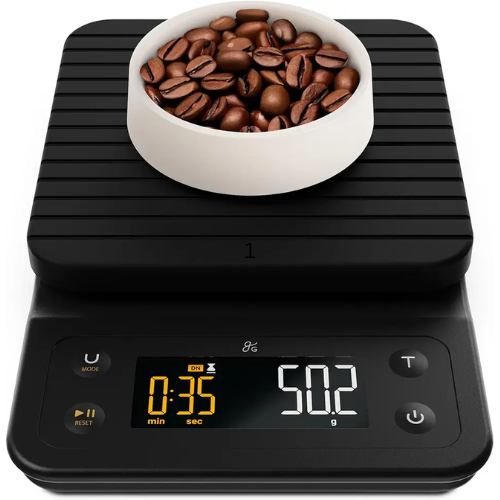
3. Get the Ratio Right
Use a 1:15 to 1:17 ratio (coffee to water). For example, 20g of coffee to 300g of water is a good starting point. A scale helps. A scoop doesn’t.
If you don’t have a scale to brew coffee at home, aim for about 2 tablespoons of ground coffee per 6 ounces of water. Still, if you’re serious about improving your coffee, a digital kitchen scale is one of the most affordable upgrades you can make.
Ratio Pros
Ratio Cons
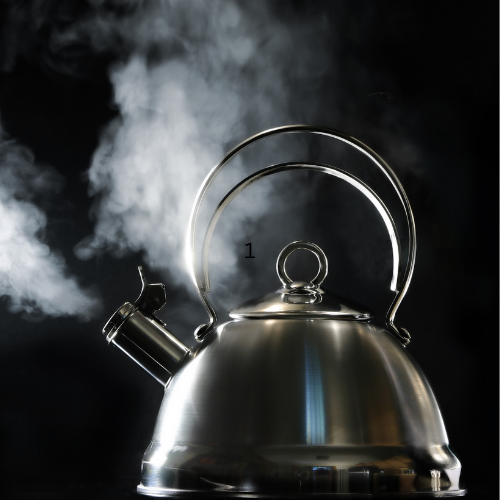
4. Heat Your Water Correctly
Too hot and it burns the grounds. Too cold and it under-extracts. Ideal range? 195°F to 205°F. No thermometer? Let boiled water sit 30 seconds.
Water makes up 98% of your coffee. Use filtered water to brew coffee at home to avoid off flavors from chlorine or minerals. A gooseneck kettle offers precision pouring—especially helpful for pour-over methods.
Water Temp Pros
Water Temp Cons
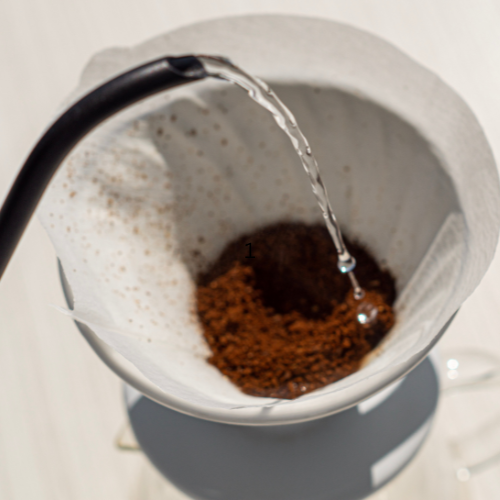
5. Bloom and Stir
For pour-over and French press, wet the grounds with a bit of water first. Let them “bloom” for 30 seconds to release gas. Then stir. It helps with even extraction.
Blooming lets the coffee degas and prepares the grounds for optimal saturation. You’ll notice a bubbly reaction—that’s carbon dioxide escaping, and it’s a good thing. Don’t skip this step!
Bloom & Stir Pros
Bloom & Stir Cons
6. Brew According to Your Method
French press: Add your coarse-ground coffee and hot water to the press. Let it steep for about 4 minutes. After that, press the plunger down slowly and evenly. If you rush it, grounds might escape into your cup. Serve right away for the best taste.
One time, I left the coffee steeping for 10 minutes while answering emails—it came out like motor oil. After that, I pay attention to the steeping time when I brew coffee at home.
French Press Pros
French Press Cons
Pour-over: Place a filter in your dripper and rinse it with hot water. Add medium-fine ground coffee, then pour hot water in slow, spiral circles over the grounds for 2 to 3 minutes. Try not to pour directly on the paper filter. This method gives you clean, bright flavors and works best with care and patience.
The first couple times I tried pour-over, I was pouring all the water at once. The coffee came out weak and watery. After some reserach and a few tries I realized that it takes slow, spiral pours make all the difference.
Pour-over Pros
Pour-over Cons
AeroPress: Add fine to medium grounds, hot water, and stir gently. Let it steep for 1 to 2 minutes depending on your recipe. Then press the plunger down slowly. Try both the standard and inverted methods to see which one gives you the flavor you like best when you brew coffee at home.
AeroPress Pros
AeroPress Cons
Drip: Use medium-ground coffee and fresh, filtered water. Measure both carefully. Once you set it up, the machine takes care of the rest. This method is great for making multiple cups with minimal effort.
Back in the day I used to drink whatever my old $15 drip machine made when I would brew coffee at home, thinking it was “just coffee.” But once I cleaned it out with vinegar and started using better beans, it actually tasted like real coffee…yes I still have the machine!
Drip Pros
Drip Cons
Cold Brew: Mix coarse-ground coffee and cold water at a 1:4 ratio in a jar or pitcher. Stir well and cover. Let it steep in the fridge for 12 to 24 hours. Then strain out the grounds using a filter or mesh strainer. You can drink it over ice or dilute it with water or milk.
If you like to chew your coffee then pour the grounds through a kitchen stariner, that is what happend the first time I made cold brew, I didn’t use a filter, let’s just say chewing my coffee was not the goal. I upgraded my setup after that for when I brew coffee at home.
Cold Brew Pros
Cold Brew Cons
Each method has its own nuances. Take notes as you go—adjust timing, grind size, and ratios until you find your perfect cup.
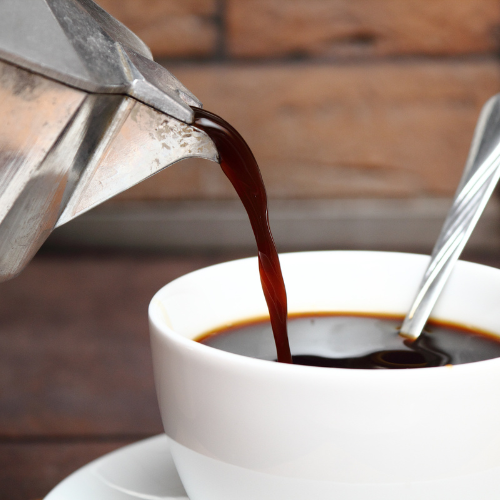
7. Serve Fresh
Coffee starts to break down fast. Drink it fresh. Don’t let it sit on the burner or reheat it. Just don’t.
If you brew coffee at home, store leftover coffee in an insulated thermos to keep it hot without burning it. Avoid microwave reheating—it ruins the flavor. If you have leftover cold brew, keep it sealed and refrigerated for up to a week.

Conclusion
Great coffee doesn’t have to come from a café, you can do the exact thing when you brew coffee at home. With just a few key steps—fresh beans, the right grind, proper ratios, and mindful brewing—you can elevate your morning ritual into something truly satisfying. Whether you’re just starting out or looking to perfect your pour, the journey to better coffee begins right at home. Give these tips a try and let your taste buds be the judge. Have a favorite brewing trick? Share it in the comments below—we’d love to hear from you!
Questions About How to Brew Coffee at Home? We Have Answers.
Get answers to a list of the most Frequently Asked Questions about when you brew coffee at home.
Author: Michael Isenhour
I’m a 22-year military veteran, dad of three, and self-proclaimed coffee obsessive. After drinking bad coffee on the road for years, I made it my mission to brew better at home—and help others do the same.